How to Turn a Photo Into a Custom Figurine
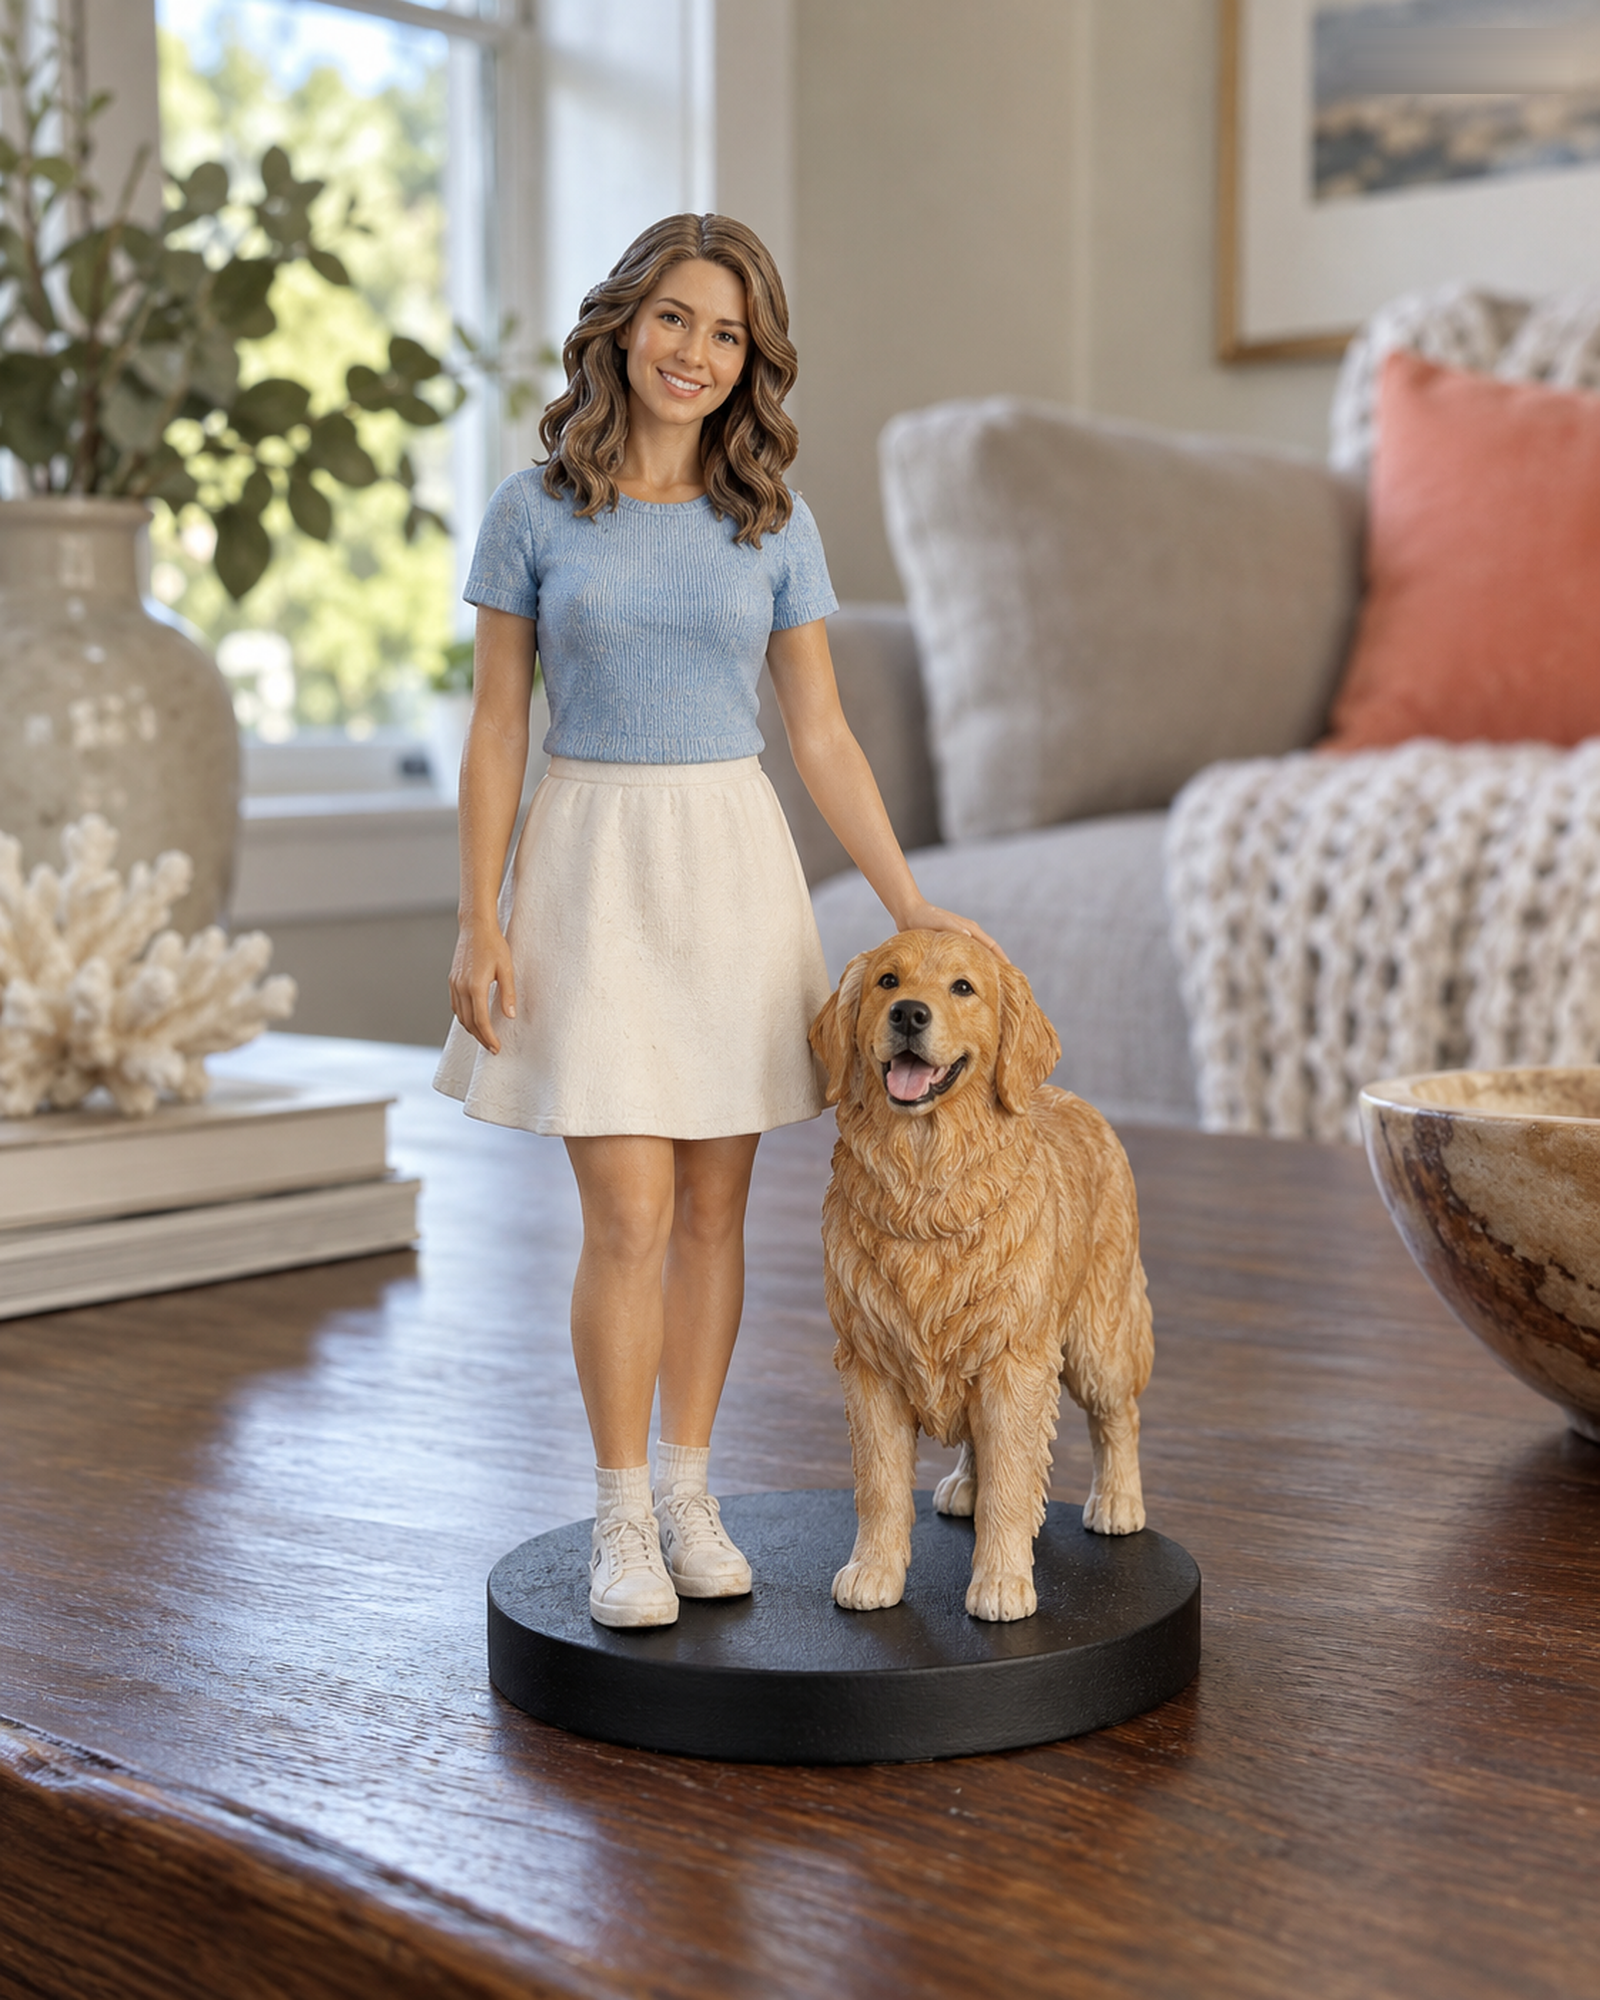
A custom figure starts with a photo, but the photo is a reference rather than an automatic promise of a finished likeness. The process gives you a chance to choose a style, explain important details and approve the final 3D preview before physical production begins.
1. Choose the style and who appears
Realistic focuses on recognizable details in a high-detail photopolymer style. Q-Style uses playful, chibi-inspired proportions. The configurators offer people, pets and some people-with-pets combinations. Select the people or pets and a listed size. Complex groups, special scenes or options outside the standard choices go to a Custom Quote for human review.
2. Upload useful reference photos
Begin with one clear, front-facing photo in even light. Add side views, a full-body view, clothing or pet-detail photos when they clarify your request. Check that you have the right or permission to use every image, including permission for photos of minors. You can review, replace or remove an uploaded reference before submitting. See our photo guide and privacy notice for practical and data-handling details.
3. Review the configuration and USD price
For an available standard configuration, the site shows a USD price confirmed by the server. The amount depends on the actual choices shown in the configurator; this article does not quote a fixed price. If the request needs manual pricing, you will see a Custom Quote path instead of an invented amount. An unpaid request collects no payment and lets customer service contact you about the photos and details.
4. Confirm delivery to your exact address before payment
At checkout, a supported standard U.S. address is checked against the configured delivery rules. Eligible standard orders receive US$0 Free Shipping. If the address is unsupported or uncertain, use Custom Quote instead of assuming delivery is available. After payment, the merchant still reviews fulfillment; if an order cannot be fulfilled, the customer is contacted and the existing refund policy applies. Read the Shipping Policy for the published delivery terms and exceptions.
5. Review policies, pay, and wait for order review
When an eligible standard order proceeds to checkout, you are asked to affirmatively accept the current Terms & Conditions and Refund & Cancellation Policy. PayPal processes the payment. Payment does not by itself mean that the merchant has formally accepted the order or that physical production has started. Customer service reviews your photos and custom details, and the merchant gives a separate acceptance decision under the published Terms.
6. Approve the final 3D preview
The team prepares a 3D preview after the required review and acceptance steps. Look at the identified final preview and request any changes for the team to assess. Extra scope or charges require your approval before that work proceeds. Physical production does not begin until you explicitly approve the final 3D preview. The Custom Order, Preview & Revision Policy explains the review and revision process.
Ready to start? Configure a Realistic figure, configure a Q-Style figure, or submit an unpaid custom request if you need a manual quote.
Choose a photo set by decision
Pick one sharp front view as the identity reference, then add only views that answer a specific question: side profile for nose or hairstyle, full body for pose and clothing, and a close view for a distinctive marking. Label each file in your own notes; do not send several nearly identical crops.
Want to compare another provider? Cuddle Clones publishes a photo-angle guide for its plush replica service. It is a useful example of labeling face, side, and distinctive-marking views; its product and workflow are different from Forever In Form's figurines.
Continue with the Realistic configurator or the Q-Style configurator. For unlisted combinations, use Custom Quote.